A sprinkler system is a great way to keep your...
Read More
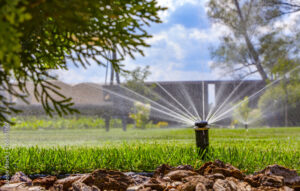
Turn On Sprinkler System
A lush green lawn requires regular watering to stay healthy....
Read More
Air Compressor Fitting to Irrigation System
An irrigation system moves water through underground pipes to different...
Read More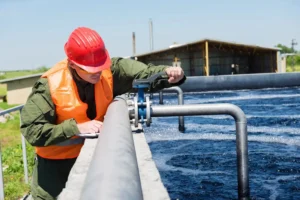
Water Management Tools
Timberborn is a creative city-building game where water is very...
Read More
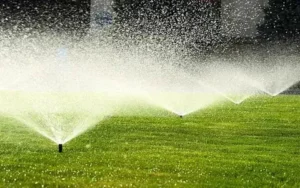
Irrigation Installation Process
Installing an irrigation system for your lawn or garden is...
Read More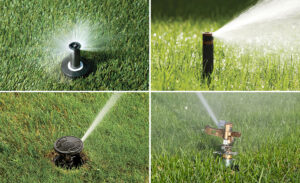
How to Repair Sprinkler Line
Home About Services Irrigation System Water Sprinkler System Water Management...
Read More